So to avoid all of that painting panels are the answer. Today I made a dozen painting panels easily and cheaply. Here's how:
I started with some masonite and birch plywood, purchased at Home Depot already cut to the sizes I wanted.
I have a roll of Fredrix Scarlet O'Hara oil primed long staple cotton canvas which I cut into sizes about 1/2 in. larger than the panels.
and a container of Lamin-All
Lamin-All is a teriffic product that really adheres the canvas to the panel even at the corners and along the edges something I was having problems with using a different product. Thanks go to Minnesota artist Ben Bauer for telling me about Lamin-All. Please visit Ben's blog http://www.landscapesskyscapes.blogspot.com/, you won't be disappointed!
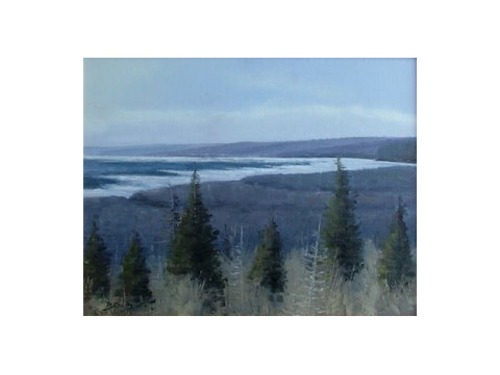
Pincushion Overlook -Ben Bauer
A permanent link to his blog is going in the sidebar very soon!

1.) Begin by applying a coat of Lamin-All to the panel with a foam brush, make sure to get enough on the corners and edges. (Lamin-All is concentrated and needs to be mixed with water, follow the instructions on the jar.) Next, place the piece of canvas you have cut (approx. 1/2 in. bigger than the panel) wrongside down on the Lamin-All coated panel.
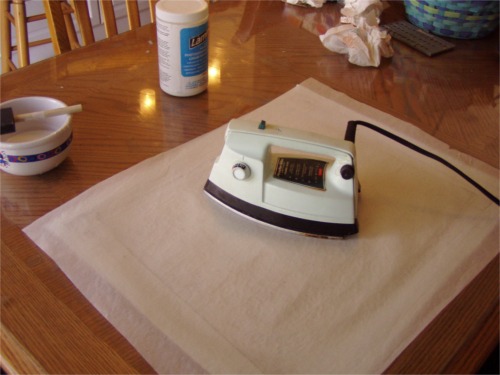
2.) Use your iron on low to activate the Lamin-All. The instructions for this are on the Lamin-All container.
 3.) Using a craft knife trim the excess canvas. You're done!!
 Here are the panels I made today in just over two hours from set up to clean up. Four 16x20's, three 14x18's, three 9x12's, and two 8x10's. For a small investment in money and time I have a stack of teriffic plein air panels waiting to go.


3 comments:
Hi, LOL I love how you said the canvas acts like a sail!! so true or as mine like to flop over right onto my palette. I did install a small hook and clamp to hold them onto the easel.
I am going for panels now too, although I love the give of canvas, the panels are quick to prime and good to go. I don't adhere canvas to them though.
Your florals are so joyful and colorful!
All the Best,
Rebecca
Jan - I paint with someome who doesn't mount her canvas until after she has painted. I guess she mounts the ones that are keepers. Do you think there would be a problem with doing it after? She just tapes her canvas to a masonite board, gessos it and off she goes. Seems like it would be easy storage as well.
Hi rebecca, glad you like the florals! I always love to paint them!
Robin...I know folks who mount or stretch their canvas afterwards, there's no problem doing that, it's great for travel especially if you use acrylic or alkyds that dry fast you can roll 'em up and put them in a mailing tube and mail them home instead of having to lug paintings through the airport!
Cheers,
jan
Post a Comment